If you have ever wanted a distraction-free focus timer tailored to your workflow, building your own Pomodoro timer with HTML, CSS, and vanilla JavaScript is one of the most satisfying weekend projects you can tackle. No frameworks, no build tools, no dependencies — only three files and a browser tab. In under 80 lines of JavaScript, you can craft a fully customizable timer with start, pause, and reset controls, plus a clean interface that you actually enjoy looking at.
This guide walks you through the architecture, the markup, the styling, and the JavaScript logic that ties it all together. By the end, you will have a working timer you can deploy anywhere, and you will understand every line that makes it tick.
Why Skip Frameworks for a Project Like This?
React, Vue, and Svelte are excellent tools, but a Pomodoro timer is a self-contained UI component with a single state variable (the remaining time) and a single side effect (the countdown interval). Pulling in a framework for that is like renting a crane to move a chair. Vanilla JavaScript keeps the payload under a few kilobytes, loads instantly, and runs forever without dependency updates breaking your project.
More importantly, hand-rolling the timer teaches you the fundamentals that frameworks tend to obscure: how to manage intervals, how to update the DOM efficiently, and how to keep your state predictable.
The HTML Skeleton: Three Elements and a Wrapper
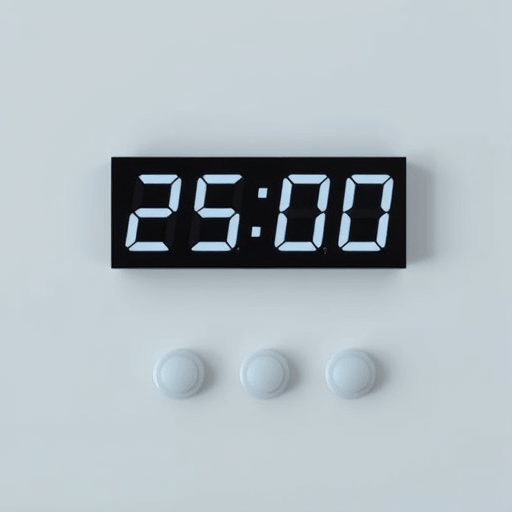
The markup is intentionally minimal. You need a container, a display for the countdown, and three buttons. That is it.
<div class="timer">
  <h1 id="display">25:00</h1>
  <div class="controls">
    <button id="start">Start</button>
    <button id="pause">Pause</button>
    <button id="reset">Reset</button>
  </div>
</div>
<script src="timer.js"></script>
<link rel="stylesheet" href="timer.css">
The display starts at 25:00, the classic Pomodoro work interval, but you can change that default. The buttons are wired to IDs so the JavaScript can grab them with document.getElementById. That is the entire DOM. Nothing nested, nothing dynamic — three siblings inside a container.
Styling the Timer for Focus
A focus tool should not distract. The CSS leans on generous whitespace, a single accent color, and large typography so the countdown is readable at arm’s length.
body {
  font-family: system-ui, sans-serif;
  display: flex;
  justify-content: center;
  align-items: center;
  height: 100vh;
  margin: 0;
  background: #0f172a;
  color: #f8fafc;
}

.timer {
  text-align: center;
  background: #1e293b;
  padding: 3rem 4rem;
  border-radius: 1rem;
  box-shadow: 0 20px 60px rgba(0, 0, 0, 0.4);
}

#display {
  font-size: 6rem;
  font-variant-numeric: tabular-nums;
  margin: 0 0 2rem;
  letter-spacing: 0.05em;
}

.controls button {
  background: #38bdf8;
  color: #0f172a;
  border: none;
  padding: 0.75rem 1.5rem;
  margin: 0 0.5rem;
  border-radius: 0.5rem;
  font-size: 1rem;
  font-weight: 600;
  cursor: pointer;
  transition: transform 0.1s ease, background 0.2s ease;
}

.controls button:hover {
  background: #7dd3fc;
}

.controls button:active {
  transform: scale(0.97);
}
The dark slate background reduces eye strain during long sessions, while the sky-blue buttons provide enough contrast to feel clickable without being aggressive. font-variant-numeric: tabular-nums prevents the digits from jiggling as the timer counts down — a small touch that makes a big visual difference.
The JavaScript Logic in Under 80 Lines
Here is the part you came for. The timer logic uses three pieces of state: totalSeconds, remaining, and an intervalId. The rest is just event listeners and a render function.
const display = document.getElementById('display');
const startBtn = document.getElementById('start');
const pauseBtn = document.getElementById('pause');
const resetBtn = document.getElementById('reset');

const WORK_TIME = 25 * 60;
let remaining = WORK_TIME;
let intervalId = null;

function format(seconds) {
  const m = Math.floor(seconds / 60).toString().padStart(2, '0');
  const s = (seconds % 60).toString().padStart(2, '0');
  return `${m}:${s}`;
}

function render() {
  display.textContent = format(remaining);
}

function tick() {
  if (remaining <= 0) {
    clearInterval(intervalId);
    intervalId = null;
    alert('Pomodoro complete! Take a break.');
    return;
  }
  remaining -= 1;
  render();
}

function start() {
  if (intervalId !== null) return;
  intervalId = setInterval(tick, 1000);
}

function pause() {
  if (intervalId === null) return;
  clearInterval(intervalId);
  intervalId = null;
}

function reset() {
  pause();
  remaining = WORK_TIME;
  render();
}

startBtn.addEventListener('click', start);
pauseBtn.addEventListener('click', pause);
resetBtn.addEventListener('click', reset);

render();
That is fewer than 80 lines of meaningful logic, and it handles every interaction you need. The intervalId acts as a single source of truth: when it is null, the timer is paused or stopped; when it holds a value, the timer is running. This pattern prevents the dreaded double-interval bug where pressing Start twice causes the countdown to accelerate.
How the Pieces Communicate
When you click Start, the start function checks whether an interval is already running. If not, it starts a new one that calls tick every second. Each tick decrements remaining, calls render to update the display, and checks whether the timer has reached zero.
Pause works in reverse: it kills the interval and clears the ID, but leaves remaining untouched so Start picks up exactly where you stopped. Reset calls Pause first, then restores remaining to the full WORK_TIME and re-renders the display.
Adding Customization Without Bloat
The script includes a WORK_TIME constant at the top, which makes changing the duration a one-line edit. If you want a configurable timer, you can add a number input and read its value inside the Start function. The same pattern works for adding a short break interval after each Pomodoro.
- Long sessions: Set
WORK_TIMEto 50 * 60 for a 50-minute deep work block. - Short sprints: Drop it to 15 * 60 for quick task bursts.
- Break support: Add a second constant and toggle between work and break states.
- Audio cue: Replace the
alertwithnew Audio('chime.mp3').play().
None of these enhancements require restructuring the code. They slot in cleanly thanks to the separation between state, rendering, and event handling.
Common Pitfalls to Avoid
Even a small script like this has a few traps worth knowing. Avoid storing the displayed string as state — always store raw seconds and format on render. Do not rely on setInterval for precise timing; if the tab throttles, the countdown can drift. For a focus tool that is acceptable, but if you need accuracy, store a start timestamp and compute remaining time from the wall clock on each tick.
Finally, do not bind the same listener twice. If you call addEventListener inside another function, you can end up with duplicate handlers firing on every click, which makes the countdown race.
Conclusion
A working Pomodoro timer is one of the best starter projects for sharpening your vanilla JavaScript skills. In under 80 lines of logic, you get a clean UI, predictable state management, and a tool you will actually use daily. Once it is running locally, you can drop the three files into any static host, attach them to a Notion page, or wrap them in a Chrome extension. The simplicity is the point: no build step, no version conflicts, no surprises. Just a timer, a browser tab, and the satisfying click of the Start button.