Every year, experienced hikers and even strong swimmers lose their lives in moving water. One of the most common—and most preventable—causes is foot entrapment. Learning how to avoid foot entrapment when crossing rivers solo is not about memorizing a generic list of tips. It is about understanding hydraulic forces, selecting gear that minimizes risk, and building a pre-crossing ritual that includes one critical action: unbuckling your hip belt before you step into the current. This guide covers the mechanics of entrapment, the field-tested hip belt technique, and the footwear and water-reading skills that keep solo hikers alive.
Why Foot Entrapment Is So Dangerous: The Tripod Effect
When your foot slips between two submerged rocks and the current pushes your chest downstream, your body forms a tripod shape—head down, foot pinned, knee bent. This position is nearly impossible to overcome, even in water that appears ankle-deep. Swiftwater rescue instructors call it the “pin-down” and it is one of the leading causes of unintentional drowning in rivers. For a solo hiker, the danger multiplies: no one is standing on the bank to grab your pack strap, push your torso upstream, or help you wiggle your foot free. The current essentially locks your skeleton in place, and the weight of the water itself prevents you from rising.
The most dangerous part of foot entrapment is not drowning in deep water—it is drowning in shallow water. Your face may be just a few inches below the surface, but the force of the water pressing on your back could be comparable to having a truck tire sitting on top of you. That is why prevention is not an equipment luxury; it is a survival skill.
The Hip Belt Rule: Your Solo Safety Lifeline
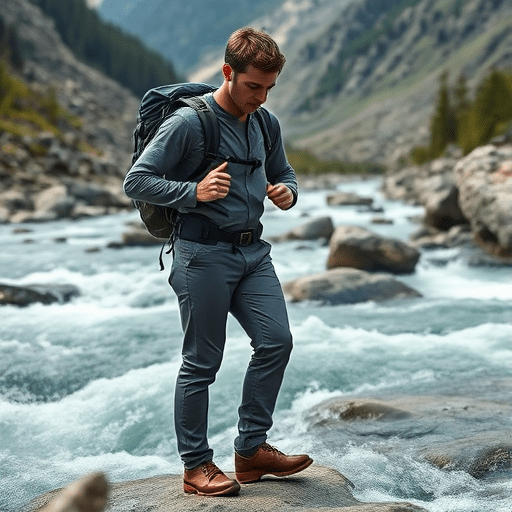
The single most effective way to reduce your risk is to make sure you can shed your pack instantly once the river claims you. This means unbuckling your hip belt before crossing rivers solo. Many hikers keep the belt snug for comfort during the day and forget to release it when they reach the water. If you slip and your pack fills with water, the extra weight and drag can pin you against rocks, making it almost impossible to right yourself. Even if the pack is only partially filled, it can act like an anchor dragging you downstream and increasing the pressure on any foot that becomes wedged.
Unbuckling the hip belt does not mean removing the pack. It simply frees your torso from the pack’s inertia. If you fall and the current grabs you, the pack will angle your body, but you can immediately slide your arms out of the shoulder straps and let it go. On the other hand, a locked hip belt turns the pack into a harness that keeps your body in whatever position the water decides.
Turn the Unbuckle Into a Pre-Crossing Habit
The key is to make this a repeatable routine rather than a last-minute thought. Every time you approach any moving water deeper than mid-calf, run the same protocol: unbuckle the hip belt, loosen the sternum strap, and check that the shoulder straps will release with a quick tug. Do this even on harmless-looking streams to build muscle memory. In the latest generation of ultralight backpacks, some brands have added whistle-integrated buckles and one-handed quick releases, but the classic hip belt buckle still remains the most common trapped connection. Your habit matters more than the hardware you carry.
Footwear Choices That Lower Your Entrapment Risk
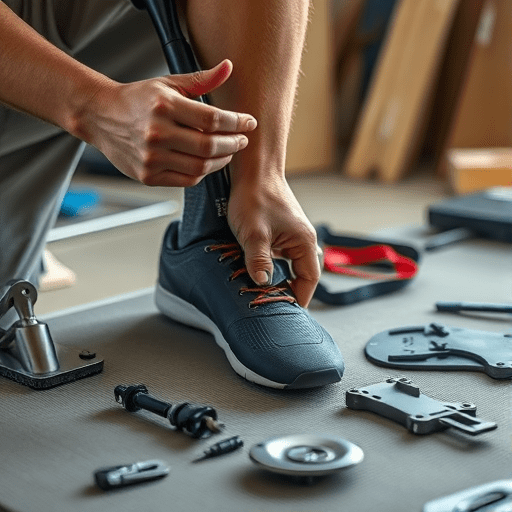
What you wear on your feet can either slide through a narrow gap or lock into it. The current direction in trail footwear has shifted toward quick-draining shoes with shallow, rounded lugs and sticky rubber outsoles. These are much safer for river crossings than stiff, deep-lugged hiking boots, which tend to wedge between rocks like a jammed chock. A smooth, flat section under the ball of the foot lets the shoe pivot out of a crevice, while a rounded heel roll reduces the chance of catching on a submerged lip.
If you are only carrying one pair of shoes, choose a model with a soft, flexible midsole and a moderate tread pattern. If you are facing a multi-day route with many crossings, consider carrying a dedicated pair of river-crossing sandals or approach shoes. The extra 300 grams in your pack is a small price to avoid the most common fatal accident in swift water. Remember that your footwear decision is not about grip—it is about how quickly your foot can exit a trap.
Reading the River: Spotting Entrapment Zones Before You Step In
Foot entrapment rarely happens in a wide, uniform riffle. You need to identify the places where water accelerates and channels around rock clusters. Look for dark seams of water squeezing through a constriction, white foam over mid-sized boulders, and any section where the bottom changes from sand to cobblestone. These are exactly the areas where a foot can slide into a gap and the current can rotate your body. The safest crossing line is usually where the water is smooth and glassy, because that indicates a deeper, cleaner channel with fewer obstacles at foot level.
Another powerful field technique is to throw a small floating stick into the current upstream and watch how it moves. If the stick bounces, stalls, or spins in a frothy section, that water is performing the same movements on your body. Avoid those seams completely. Also be mindful of a “strainer”—a fallen tree or submerged branch that lets water pass through but will trap your leg. If you catch sight of any strainer near your potential crossing, move at least fifty meters upstream or downstream to find a different exit.
What to Do If You Are Swept: The Feet-Downstream Response
No crossing is ever 100 percent safe. When the water wins, the one rule that prevents foot entrapment is to keep your feet on the surface. If you feel the bottom being taken out from under you, do not try to stand up. Fighting to find the riverbed is exactly how feet get wedged between rocks. Instead, flip on your back, point your toes downstream, keep your feet elevated, and use your arms to steer toward the nearest calming eddy. Because your hip belt is already unbuckled, the pack will not lock you into a face-down position. You can swim while the pack floats beside you, and if it becomes a hazard, you can slip out of the shoulder straps and recover it later.
Practice this feet-downstream position in a lake or a still pool with your pack on before you ever need it in a river. Put the pack on, unbuckle the hip belt, and float. You will quickly feel how the pack wants to rotate your body. Knowing that feeling in a safe environment reduces panic in a real incident.
The Solo Crosser’s Pre-Crossing Checklist
A short checklist, repeated before every river crossing, helps build the discipline required to stay alive:
- Scout at least 30 meters upstream and downstream for hazards, eddies, and potential recovery points.
- Unbuckle the hip belt and loosen the sternum strap on your backpack.
- Verify that you could pull one shoulder strap free with a single quick tug.
- Change into smoother-soled crossing shoes if you are carrying them.
- Face upstream, keep your knees soft, and take short, deliberate sidesteps across the bottom.
- Keep one trekking pole on the downstream side for balance, but never lean your entire weight on it.
- If your foot begins to slide into a gap, lift that foot immediately and shift your weight uphill before the current can settle you.
In 2026, river-crossing gear and backpack designs are more advanced than ever, but the fundamentals have not changed. Water obeys gravity, and human joints move in limited directions. The best equipment in the world will not save you if your hip belt is still done up when you go under. The best strategy is to respect the current, read the river twice, and cross like a person who knows that the water is in charge.
Final Thoughts
Foot entrapment is a silent, relentless hazard that transforms a simple river crossing into a life-threatening event, especially when you are alone. By understanding the pin-down mechanism, unbuckling your hip belt before stepping in, choosing smooth-soled footwear, and reading the water with a trained eye, you can dramatically lower the odds. Practice the routine. Respect the river. And never let comfort outweigh the discipline of a safe solo crossing.