Downhill hiking knee pain is a frustrating problem that often arrives without warning. The ascent feels strong, the views are perfect, and then the trail tilts downward—and within twenty minutes, your patella is sending sharp alarms with every step. The biomechanics are brutal: on a steep descent, your knees can absorb forces roughly four to six times your body weight, with your quadriceps working eccentrically to control each footfall. The good news is that trekking poles, when used with the right techniques, can redirect a significant portion of that load from your knees to your arms and core. It isn’t about simply having poles in your hands—it’s about how you position them, when you push through them, and how they shape your stride. Here are three pole-specific methods that can make your next descent feel dramatically kinder to your patella.
Why Downhill Hiking Hurts the Patella
To understand why poles help, it helps to understand what is happening inside the knee joint. When you step down, your quadriceps contract while lengthening—an eccentric movement that acts as a brake. This is much harder on tissue than the concentric (shortening) contractions used during climbing. The patella, the kneecap, functions as a fulcrum for that braking force. On uneven terrain, the gliding surfaces behind the patella can become irritated, particularly when the descent is long, steep, or littered with awkward steps.
Research on loaded hiking has shown that trekking poles can reduce the compressive forces at the knee by 20 to 30 percent on downhill sections. That reduction is substantial. Combined with a slightly altered gait, poles effectively turn a quadruped-like braking system into an upper-body assist. But the degree of force transfer depends on two things: pole length and the timing of your push.
Technique #1: Shorten Your Poles Before the Grade Drops
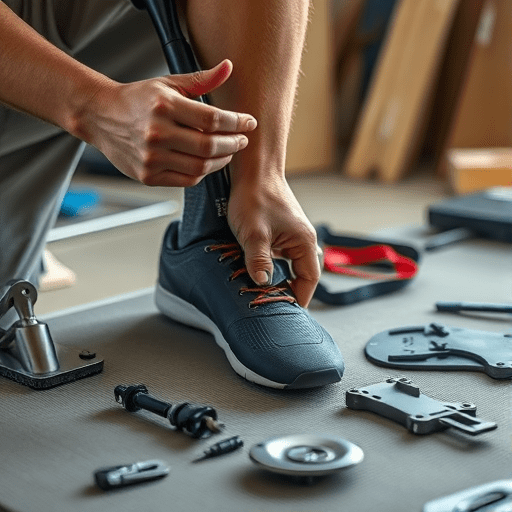
The most common mistake downhill hikers make is keeping their poles at the same length used for flat walking. That leaves the pole tip hitting the ground too far ahead, forcing you to lean back, lengthen your stride, and load the joint. Instead, shorten both poles by roughly five to ten centimeters—or about a hand’s width—as soon as the trail begins descending steeply.
Why this works: shorter poles encourage a more upright (though slightly forward-tilted) torso and allow the pole tip to plant closer to your center of mass. You want the pole to act like a walking cane, taking force near the vertical line of your body rather than out front where it creates a braking torque that fights your natural momentum.
How to adjust on the trail
- Look for the lowest numbered lock segment on your pole; many quick-lock designs have markings for descent length.
- If your poles use twist locks, loosen them fully before adjusting, then retighten with the wrist strap snug but not restrictive.
- Set both poles to the same length, and test by planting them a short step downhill—your elbow should bend slightly more than 90 degrees.
- Remember to lengthen the poles again when the trail flattens out; walking with descent-shortened poles on level ground will strain your shoulders.
Technique #2: Push, Don’t Brake
Watch ten hikers on a steep downhill and you will likely see nine of them use their poles like crutches—planted far ahead, with the hiker leaning backward and letting the poles absorb the shock. This “braking” technique is jarring, inefficient, and actually increases the transient impact on the knee because the body’s weight is still dropping onto the extended leg.
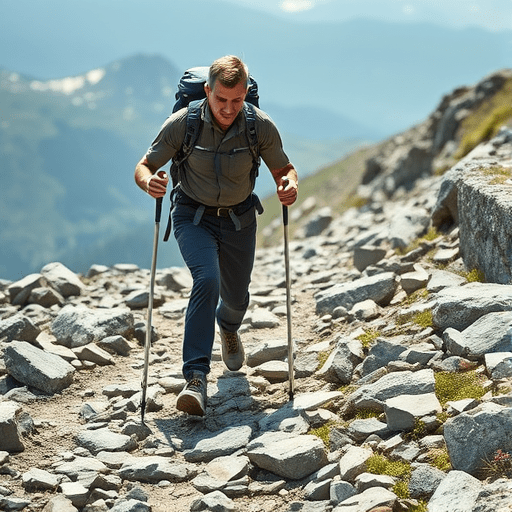
Instead, use a more active, rowing-like motion. Plant the pole close to your downhill foot, roughly in line with your toes, at the same moment that foot makes contact. Then immediately push down and back through the pole as your body moves over it. This turns the pole into a third limb that propels you forward, converting what would be pure quadriceps braking into work shared by your forearms, shoulders, and lats.
Key cues for this technique
- Keep the pole shaft angled backward as it touches the ground—not vertical and not out front.
- Push through the wrist strap, not the grip itself. The strap should support the force while your fingers stay relaxed.
- Exaggerate the push on the side of your stronger leg for a few steps to feel the difference, then alternate.
- If the ground is loose, use the carbide tip at a steeper angle so it bites, not so steep that it skates.
Technique #3: Let Your Poles Set the Cadence
Another subtle but powerful way to reduce patellar pain is to shrink your stride length while increasing your step frequency. Long, lunging downhill strides increase the vertical drop per step, which spikes the force on the kneecap. Short, quick steps are gentler because the knee stays more flexed and the quadriceps have less distance to control.
Poles can help you reset your rhythm naturally. The cadence trick is simple: each time the tip of your left pole touches the ground, your right foot should land. Each time the right pole touches, your left foot lands. This “opposite pole, opposite foot” rhythm mimics the gait you naturally use when hiking without poles, but one that you can speed up deliberately.
Try this on your next descent: shorten your poles first, then walk for a few minutes aiming to add one to two additional steps per second. You will likely find that the poles become a metronome, keeping you from overstriding. The result is a smoother, more dance-like descent where each step is smaller and the patella is spared the repetitive pounding of oversized, jarring footfalls.
Modern Pole Features Worth Using (or Skipping)
Pole technology has evolved, and a handful of features can support the techniques above. Anti-shock poles, which contain a spring or elastomer in the lower shaft, are no longer just a gimmick; modern dampening systems can absorb high-frequency vibration, particularly on rock-hard trails. If you already own a fixed-length pole, the cheaper upgrade is simply using the “push” technique correctly—the body does the absorbing, not the spring.
Grip shape matters too. Ergonomic angled grips, where the handle tilts forward slightly, keep your wrist in a more neutral position when you push from a short pole length. This reduces wrist fatigue, which otherwise tempts hikers to revert to the less-effective braking style. Quick-lock adjustment systems with clear markings are also worth considering; they let you shorten and re-lengthen both poles in under ten seconds, which means you’ll actually do it every time the trail changes grade.
One piece of gear to skip is the automatic “descent mode” found on a few electronic poles. The extra motorized weight and battery management are rarely worth it when a manual adjustment takes the same amount of time.
Putting It Together on Real Terrain
The best way to integrate these techniques is to practice them separately, then blend them. On a moderately steep section of trail, begin by checking your pole length first—shorten both poles and adjust your grip. Then, as you start moving, focus only on the push timing: plant, push, release. Let your stride naturally shorten as you find a rhythm. Within ten to fifteen minutes, the movement will begin to feel automatic.
You can also pair these pole techniques with simple recovery habits: taking a one-minute break every thirty minutes of descent to shake out your calves, staying hydrated, and doing a few patellar self-massage strokes while you rest. The poles themselves do the heavy lifting, but the overall mechanical relief works best when your legs are not also fighting dehydration or fatigue.
Downhill hiking knee pain does not have to be an inevitable price of adventure. By shortening your poles before the grade drops, pushing through them rather than braking, and letting them set a higher cadence, you redistribute the load that would otherwise concentrateon your patella. These are small mechanical adjustments, but they add up to a significantly healthier, more comfortable descent—and a knee that still feels strong when you reach the trailhead.