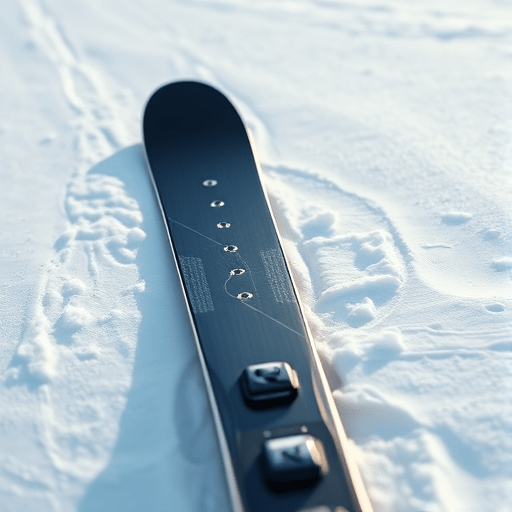
When you lace up for the first time on a Colorado backcountry slope, the exhilaration of the open air is matched only by the responsibility of staying safe in avalanche terrain. The cornerstone of that safety is a reliable avalanche beacon, often called a transceiver. In this step‑by‑step guide, we walk you through selecting the right beacon, testing it before you hit the snow, and maintaining it so it remains dependable whenever you need it.
Understanding the Basics: What a Beacon Does for Beginners
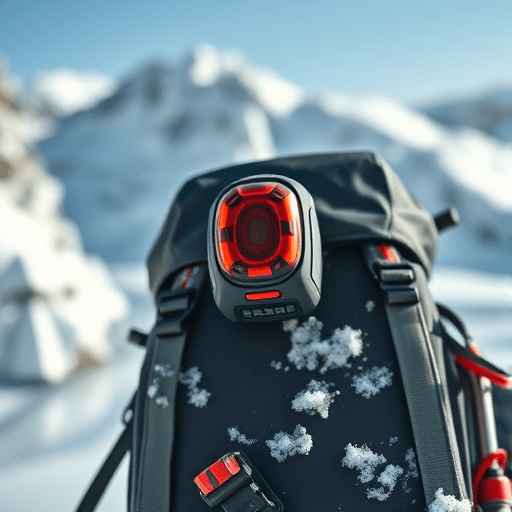
A beacon is your lifeline when a skier avalanche occurs. It emits a radio frequency that other rescuers or your own beacon can receive, allowing them to triangulate your position and dig you out. For beginners, this means the device should be simple to use, lightweight, and designed for the specific conditions found in Colorado’s varied backcountry.
Key Factors to Consider When Picking a Beacon
- Signal Range: Most beacons advertise a range of 150–300 meters. In Colorado, where slopes can be steep and deep, a range closer to 250 meters provides an extra safety margin.
- Weight and Size: A 200–250 gram unit is comfortable for a beginner who may not want the weight of a heavier, more advanced model to offset.
- Battery Life: Look for beacons that offer 10–12 hours of continuous use on a single charge, with the option to replace batteries if your trips extend beyond daylight.
- User Interface: Beginner-friendly models feature large, backlit buttons and a clear LCD or LED display.
- Durability: A robust housing that resists scratches, water, and drops is essential in harsh backcountry conditions.
- Warranty and Support: A manufacturer’s warranty of at least two years and accessible customer service can save you headaches when things go wrong.
Colorado-Specific Terrain: Why Your Beacon Must Match the Mountain
Colorado’s backcountry ranges from gentle bowl packs in the Front Range to high‑alpine ridgelines with variable snowpack. The most common avalanche hazards here involve shallow crust, deep wind slabs, and mixed-grain snow. A beacon with a strong, stable signal that can penetrate deep snow is vital. Moreover, because the terrain can be rugged, the beacon’s housing should be rugged enough to survive a quick drop from a 3‑4 ft lift or an accidental hit on a pine.
Testing Your Beacon Before You Ski
Once you’ve chosen a beacon, the next step is rigorous testing. This is not just a recommendation; it’s a critical safety measure.
Battery Check: Fully charge your beacon and verify the indicator shows 100%. If your beacon uses replaceable batteries, check that the batteries are fresh and fit snugly.
Signal Test: Most beacons include a “search” mode that emits a continuous signal. In a clear area, use a second beacon or a handheld receiver to confirm you can locate the signal within 250 meters. If you’re in a group, practice calling each other’s signals to ensure the system works in a team context.
Manuals and Guides: Read the user manual thoroughly. Pay attention to any troubleshooting steps for common issues like “no signal detected” or “battery low.”
Maintaining Your Beacon for Reliable Performance
Proper maintenance extends the life of your beacon and keeps it functional during emergencies. Follow these practices:
- Regular Charging: Even if you’re not going out, keep the beacon’s battery topped up. Many modern units allow charging with a standard USB cable, making it convenient to charge at home.
- Firmware Updates: Manufacturers occasionally release firmware upgrades that improve signal reliability or add features. Check the company’s website each year for updates.
- Storage: When not in use, store the beacon in a dry, insulated pouch. Avoid placing it near metal objects that could short out the electronics.
- Periodic Self-Check: Once a month, run the beacon’s diagnostic test (if available). This ensures that the internal sensors and circuitry are functioning correctly.
- Professional Inspection: For high‑end models, consider a yearly inspection by a certified avalanche gear technician, especially if you’re using the beacon in extreme conditions.
Comparing the Top Beginner-Friendly Beacons in 2026
Below is a quick snapshot of three models that consistently receive praise from Colorado beginners and seasoned skiers alike.
- Whittaker T3: 250 g, 240‑meter range, two‑year warranty. Known for its robust build and simple button layout.
- Black Diamond Alpine Pro: 230 g, 300‑meter range, integrated battery charger. Features a bright LED display and a dual‑mode search (signal and voice).
- Miller Pro: 210 g, 250‑meter range, four‑year warranty. Comes with a detachable battery pack that extends total runtime to 18 hours.
All three units pass the essential criteria: adequate range, lightweight, and beginner-friendly controls. The choice often comes down to brand preference, budget, and whether you value features like an integrated charger.
Choosing the Right Beacon: A Decision Framework
Deciding on a beacon can feel overwhelming, but a simple framework can clarify your options.
- Identify Your Primary Use: Are you skiing in the Front Range, the Rockies, or the high alpine? Heavier, more advanced models are better for high‑altitude, deep‑snow terrain.
- Set a Budget: Basic models start around $250, while premium units can reach $500. Remember, the cost of a beacon is a small price for a potential life‑saving tool.
- Test the Fit: Hold the beacon in hand, attach it to a strap or your bag, and see if it feels comfortable. A poor fit can cause fatigue or reduce your responsiveness during an emergency.
- Read Reviews and Seek Advice: Look for recent user reviews from Colorado skiers. Forums and local guide shops often have valuable insights.
Common Mistakes to Avoid When Selecting a Beacon
Even seasoned skiers can fall into pitfalls that compromise safety:
- Choosing a beacon solely on price, ignoring essential features like signal range or battery life.
- Overlooking the importance of an intuitive user interface, which can be a matter of seconds in an emergency.
- Neglecting to test the beacon before each trip, which can lead to surprise failures when it’s needed most.
- Relying on a single unit without backup; consider a spare or a group set to cover everyone.
Conclusion
For beginner skiers in Colorado, the avalanche beacon is the single most crucial piece of safety equipment. By understanding the key factors that make a beacon reliable, testing it thoroughly before each outing, and maintaining it properly, you set the stage for confident, safe exploration of the backcountry. Equip yourself with the right beacon, and you’ll have peace of mind knowing that help is always within reach.