In 2026, player expectation for dynamic storytelling has never been higher. Crafting Branching Dialogues in Unity is no longer a luxury; it’s a core design skill that keeps players engaged and world‑building alive. This article walks you through an efficient workflow that blends Unity’s Dialogue System with visual flowcharts, ensuring your branching narratives are both robust and manageable.
Why Branching Dialogues Matter in Modern RPGs
Players now demand choices that ripple across the game world, altering relationships, quests, and even ending states. Traditional linear dialogue risks feeling stale, while unstructured branching can quickly become a tangled mess. By deliberately mapping dialogue before coding, designers preserve narrative integrity, avoid dead‑ends, and create meaningful player agency. Branching also improves localization, as each line can be tagged and extracted with context, reducing translation errors.
Choosing the Right Dialogue System in Unity
Unity’s built‑in Dialogue System is a versatile tool, but the ecosystem offers several variations:
- Unity’s Dialogue System (official) – tightly integrated, supports variable bindings, event hooks, and visual scripting.
- Yarn Spinner – text‑centric, excellent for quick prototypes and cross‑platform deployment.
- Ink by Inkle – powerful narrative scripting with a strong community, best when narrative depth outweighs gameplay integration.
For designers focused on rapid iteration and tight Unity integration, the official Dialogue System remains the gold standard. It exposes a DialogueGraph where nodes can represent dialogue lines, choices, or actions, and it easily hooks into Unity’s Visual Scripting for flow control.
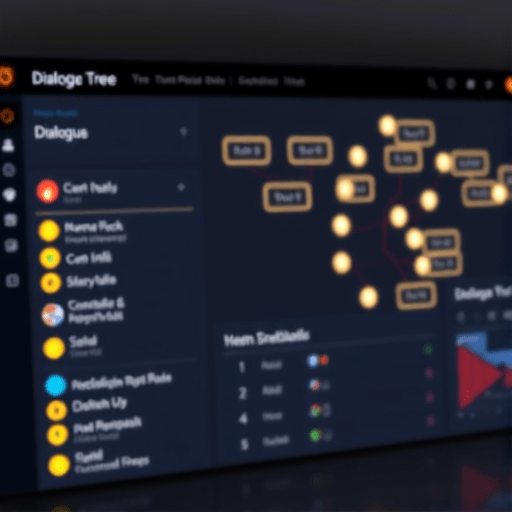
Mapping Your Dialogue with Flowcharts
Before scripting, draft a flowchart that captures every decision point. Flowcharts convert abstract narrative into a concrete blueprint that both writers and programmers can reference.
- Define the narrative goal – What emotional beat or plot twist does this scene deliver?
- Identify key choice nodes – Pinpoint moments where player input can shift the story.
- Assign outcomes – For each choice, chart the subsequent dialogue lines, quest updates, or state changes.
- Validate path length – Ensure no branch exceeds reasonable length to maintain pacing.
- Iterate with playtests – Use a rapid prototype to confirm that the flowchart aligns with player expectations.
Tools such as draw.io, Miro, or Unity’s own Visual Scripting graph view can render these flowcharts. Keep the diagram modular; separate scenes into distinct sub‑charts to reduce clutter.
Designing Branches: Characters, Choices, and Consequences
Each branch should feel like a coherent conversation thread rather than a collection of unrelated snippets. Consider:
- Character voice consistency – Maintain distinct dialogue patterns for NPCs across branches.
- Choice relevance – Ensure that every player choice feels impactful; avoid “fake choices” that lead to the same outcome.
- Consequence tracking – Use flags or variables to record decisions, enabling future dialogue or quest adjustments.
- Emotion mapping – Attach tags (e.g.,
Angry,Trust) to dialogue nodes to drive NPC mood changes. - Localization foresight – Use placeholders for dynamic content; avoid hard‑coded strings that could break translation.
When mapping consequences, a simple truth table can help: Choice A → Flag X = true; Choice B → Flag X = false. These flags feed back into later scenes, giving the narrative a persistent sense of cause and effect.
Implementing Branches in Unity’s Dialogue System
With a flowchart ready, translate it into Unity’s Dialogue Graph:
- Create a new Dialogue Asset – In the Project window, right‑click and select Create > Dialogue System > Dialogue Graph.
- Add Dialogue Nodes – Drag a
Dialogue Linenode for each spoken line. Set the speaker, text, and audio clip. - Insert Choice Nodes – Use
Choicenodes where player selections appear. Link each choice to its corresponding subsequent Dialogue Line. - Embed Actions – For state changes, add
Actionnodes that trigger scripts (e.g., setting flags, starting quests). - Link Nodes – Connect nodes with directed edges to reflect conversation flow. Pay attention to conditional branches that depend on earlier flags.
- Test via Dialogue Preview – Click the Preview button to simulate the dialogue path. Adjust pacing and transitions as needed.
Utilize Unity’s Visual Scripting to manage complex conditions. For example, a Branch node can check flag_x == true and route the dialogue accordingly. This approach keeps logic inside the graph, reducing the need for separate script files.
Testing, Debugging, and Iterating
Branching dialogue is a moving target; thorough testing ensures narrative consistency.
- Unit Test Nodes – Write automated tests that feed input choices and assert expected flag states or dialogue outcomes.
- Play‑Through Sessions – Assign designers or testers to each branch to catch dead ends or illogical progression.
- Debug Logging – Enable
Dialogue Debuggerto trace node execution. Log variable changes to verify state updates. - Player Feedback – Conduct focus groups to assess whether choices feel meaningful and whether the dialogue reads naturally.
- Iterate Flowchart – If a branch feels too long or too short, adjust node count in the flowchart before re‑importing.
Remember that the dialogue graph is version‑controlled. Use Git or Perforce to track changes, allowing rollbacks if a branch introduces unforeseen bugs.
Integrating with Game State and Narrative
Branching dialogue should influence, and be influenced by, the broader game state.
- State Variables – Create a central
GameStateobject that stores flags, quest statuses, and player attributes. - Event System – Use Unity’s
EventSystemor a custom event bus to broadcast changes. NPCs listening to these events can alter their behavior dynamically. - Persistent Storage – Serialize flags to save files so that player decisions persist across sessions.
- Dynamic NPC Interaction – Adjust NPC responses based on past dialogue choices. For example, a character might refuse help if the player previously betrayed them.
- Storyline Synchronization – Ensure that high‑level story arcs check the status of critical flags before proceeding to the next chapter.
By tying dialogue nodes to global state, you create a cohesive narrative ecosystem where every player choice echoes across the game world.
Best Practices and Common Pitfalls
- Keep Branches Manageable – Aim for no more than 3–4 major choice points per scene. Excessive branching can overwhelm players and complicate design.
- Use Clear Node Naming – Name nodes after the speaker and action (e.g.,
NPC1_AskHelp) to avoid confusion during collaboration. - Version Control Discipline – Commit changes frequently; avoid large, monolithic commits that merge entire dialogue trees.
- Avoid “Choice Bloat” – If multiple choices lead to the same outcome, consolidate them or merge the dialogue to maintain clarity.
- Test Localization Early – Don’t wait until the end of development. Early translation checks catch formatting issues and cultural nuances.
- Document Assumptions – Include a “branch rationale” note in the flowchart or accompanying doc to explain why certain paths exist.
Conclusion
Building branching dialogues in Unity doesn’t have to be a chaotic, last‑minute sprint. By first visualizing the entire conversation flow with detailed flowcharts, then translating that structure into Unity’s Dialogue System, designers create narratives that are both engaging and maintainable. Coupled with rigorous testing, state integration, and clear documentation, this workflow turns complex dialogue trees into polished, player‑driven experiences that enrich your RPG’s world.