Solar-Powered Backpacking: Charge Your Gear While You Trek
Solar-powered backpacking has become the go-to solution for eco‑conscious hikers who want to stay connected, safe, and self‑sufficient on the trail. By harnessing the sun’s energy with lightweight solar panels, portable lanterns, and energy‑saving techniques, you can charge your phone, GPS, headlamp, and even small camping appliances without weighing down your pack. This guide walks you through the essential gear, smart setup tips, and everyday practices that will keep your devices humming while you explore the great outdoors.
Why Choose Solar Power for Backpacking?
- Lightweight & Compact: Modern panels are thin, flexible, and weigh less than a loaf of bread.
- Unlimited Runtime: As long as the sun shines, your devices can stay charged.
- Zero Emissions: Reduce your carbon footprint compared to fossil‑fuel generators.
- Safety: No fuel spills, fumes, or fire risks.
When you combine these benefits with a minimalistic approach to gear, you free up pack space for essentials like extra food, water, or a spare clothing layer.
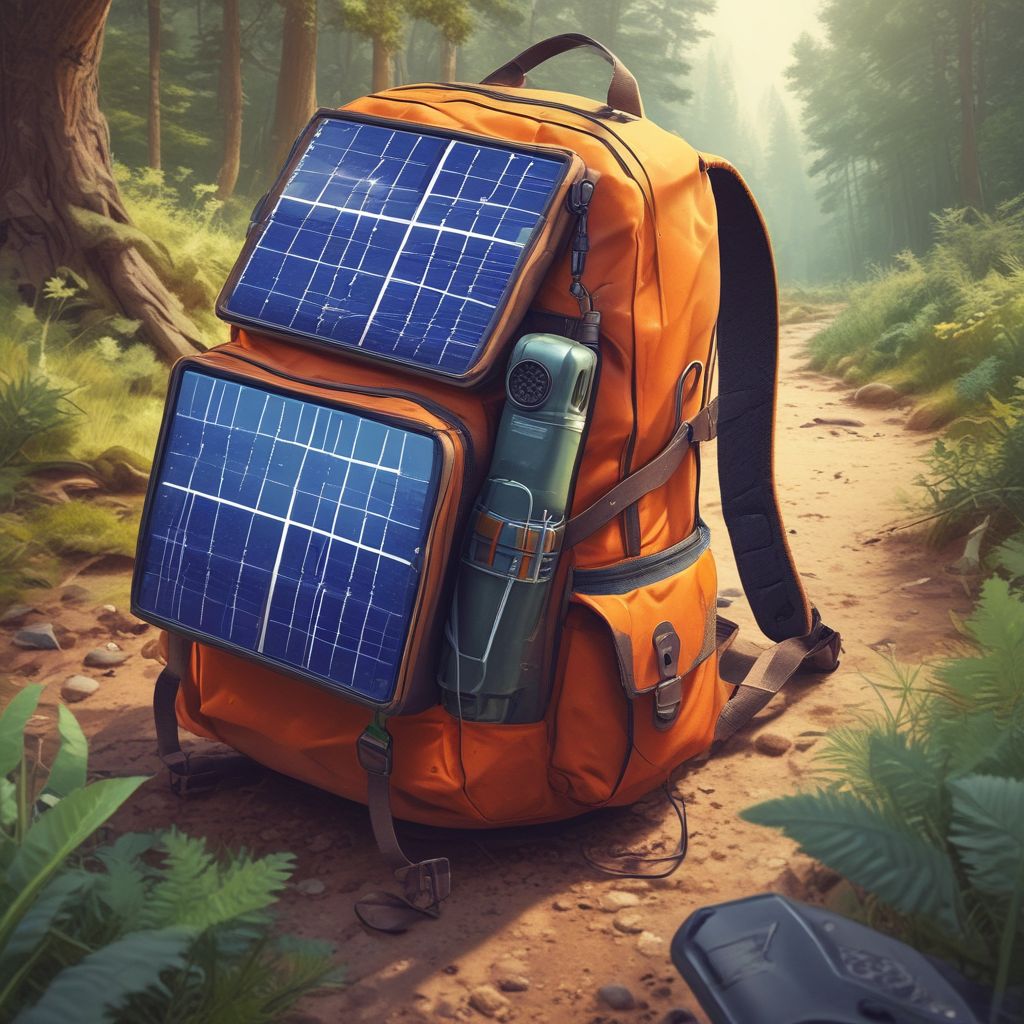
Essential Solar-Powered Gear for the Trail
1. Lightweight Solar Panels
Choose a panel that balances power output, durability, and weight. Typical options include:
- 0.5 W–1.2 W panels: Ideal for small devices (phones, tablets).
- 2 W panels: Adequate for charging a power bank and a small lantern.
- 4 W–6 W panels: Good for a higher‑capacity power bank, a small 5 W charger, or a solar oven.
Key specs to check: voltage (5 V vs. 12 V), current rating (in Amps), flexibility, and IP rating for water resistance.
2. Power Bank / Portable Charger
A high‑capacity, 20,000 mAh or larger power bank serves as an intermediary storage unit. Look for USB‑C Power Delivery (PD) support if you want to charge laptops or larger devices. Make sure the bank has a built‑in pass‑through so you can keep the panel connected while it charges the bank.
3. Portable Lanterns
LED lanterns with adjustable brightness and battery capacity are essential for nighttime illumination. Opt for models that can be recharged via solar panels or have a built‑in USB port. Some lanterns also have a flashlight mode, a night‑light setting, and an emergency strobe.
4. Energy‑Saving Accessories
- USB‑C cables with built‑in power‑management chips.
- Battery packs with multiple ports to reduce cable clutter.
- Smart power strips that cut off power when devices are fully charged.
Choosing the Right Solar Panel
The selection hinges on your typical usage and the environment you’ll encounter. If you’ll hike in shaded valleys, a higher‑output panel (4 W+) gives you a better chance of maintaining charge levels. For sun‑rich alpine trails, a 2 W panel may suffice.
Consider the following factors:
- Flexibility vs. Rigidity: Flexible panels are easier to pack but may be less efficient.
- Weather Resistance: Panels with an IP65 rating will withstand rain, hail, and dust.
- Mounting Options: Velcro straps, canvas‑compatible frames, or detachable hooks.
Power Management: From Sunlight to Your Devices
Connecting the panel directly to a device can be inefficient due to voltage mismatches. Use a charge controller that matches the panel’s output to the power bank’s input requirements. Many power banks have built‑in controllers, but a dedicated small controller can improve efficiency and protect against overcharging.
Set up a simple workflow:
- Mount the panel on your pack or on a lightweight frame.
- Connect it to the power bank via a USB‑C cable.
- Use the power bank to charge your phone, headlamp, or lantern.
- When battery levels drop, bring the panel to a sunny spot and reconnect.
Portable Lanterns: Brightness, Runtime, and Solar Recharging
Most LED lanterns consume between 10 mAh and 50 mAh per hour at full brightness. A 2,000 mAh lantern will last roughly 20–50 hours depending on brightness settings. To keep the lantern topped up, simply plug its USB port into the solar panel or the power bank when the lantern’s battery drops below 20%.
Tips for Using Lanterns Efficiently
- Use low‑light mode for reading or navigation.
- Turn off the lantern when it’s not needed; headlamps are sufficient for movement.
- Store the lantern in a padded pouch to protect it from impact.
Energy-Saving Techniques for the Trail
1. Reduce Screen Brightness
Lowering your phone or GPS screen brightness to 30–40% can shave up to 50% off battery drain.
2. Use Offline Maps
Download hiking maps and GPS routes before you leave. Offline maps eliminate constant GPS signal searches and reduce power consumption.
3. Disable Unnecessary Features
Turn off Wi‑Fi, Bluetooth, and mobile data when not in use. Many devices allow you to set “Power Saver” modes that automatically adjust settings.
4. Batch Charging
Instead of charging your devices individually, place them all in the power bank simultaneously. Many power banks have multi‑port charging, which is often more efficient.
Maximizing Solar Charge: Practical Tips
- Track Sun Angle: Early morning and late afternoon sunlight is softer but consistent. Position the panel on the pack’s front or side to capture direct rays.
- Use a Reflective Blanket: In low‑light conditions, a reflective surface can bounce light onto the panel, improving charge rates.
- Keep the Panel Clean: Dust and rain can reduce output by up to 50%. Wipe it with a dry cloth after each day.
- Rotate the Panel: If the panel remains on the pack for a long period, rotating it slightly can prevent overheating.
Common Pitfalls & How to Avoid Them
Insufficient Sun Exposure: Plan for at least 3–4 hours of direct sunlight per day for a 2 W panel to fully recharge a 20,000 mAh bank.
Using the Wrong Cables: Low‑quality USB cables can cause voltage drops. Stick to certified, high‑quality cables.
Overloading the Power Bank: Exceeding the input current can damage the bank. Check the bank’s specifications and avoid plugging multiple panels at once.
Ignoring Weather Forecasts: On overcast days, consider carrying a lightweight wind generator or a small battery charger as a backup.
Case Study: A 3-Day Wilderness Trek with Solar Power
Meet Maya, a seasoned hiker who trekked the High Country Loop (12 km/day). She packed a 2 W solar panel, a 25,000 mAh power bank, a 5 W LED lantern, and a headlamp with a 10 Ah battery. Over the trip:
- Morning sun (6–9 am) charged the panel to 60% battery capacity.
- Midday shade didn’t affect the lantern because it was already at 100%.
- Evening wind power via a small hand crank charger topped up the phone’s battery.
- By the third day, the panel’s output was enough to keep her power bank at 80% while she slept.
Maya reported that she never had to worry about a dead phone or dim lantern, and she could focus fully on the experience.
Maintenance & Care for Your Solar Gear
- Panel Cleaning: After each use, wipe the panel with a microfiber cloth and mild soap if needed.
- Battery Health: Avoid fully draining the power bank every night; keep it above 20% to prolong lifespan.
- Cable Storage: Coil cables neatly and store them in a dedicated pouch to prevent tangling.
- Storage: When not in use, keep the panel flat in a dry place to avoid bending.
Conclusion
Solar-powered backpacking offers an elegant solution to staying charged, safe, and self‑sufficient on the trail. By investing in the right lightweight panels, a reliable power bank, and energy‑saving habits, you can reduce pack weight, lower your carbon footprint, and enjoy uninterrupted connectivity. Whether you’re planning a weekend escape or a multi‑day expedition, the sun is a free, abundant energy source that’s ready to power your next adventure.
Start planning your solar-powered adventure today!