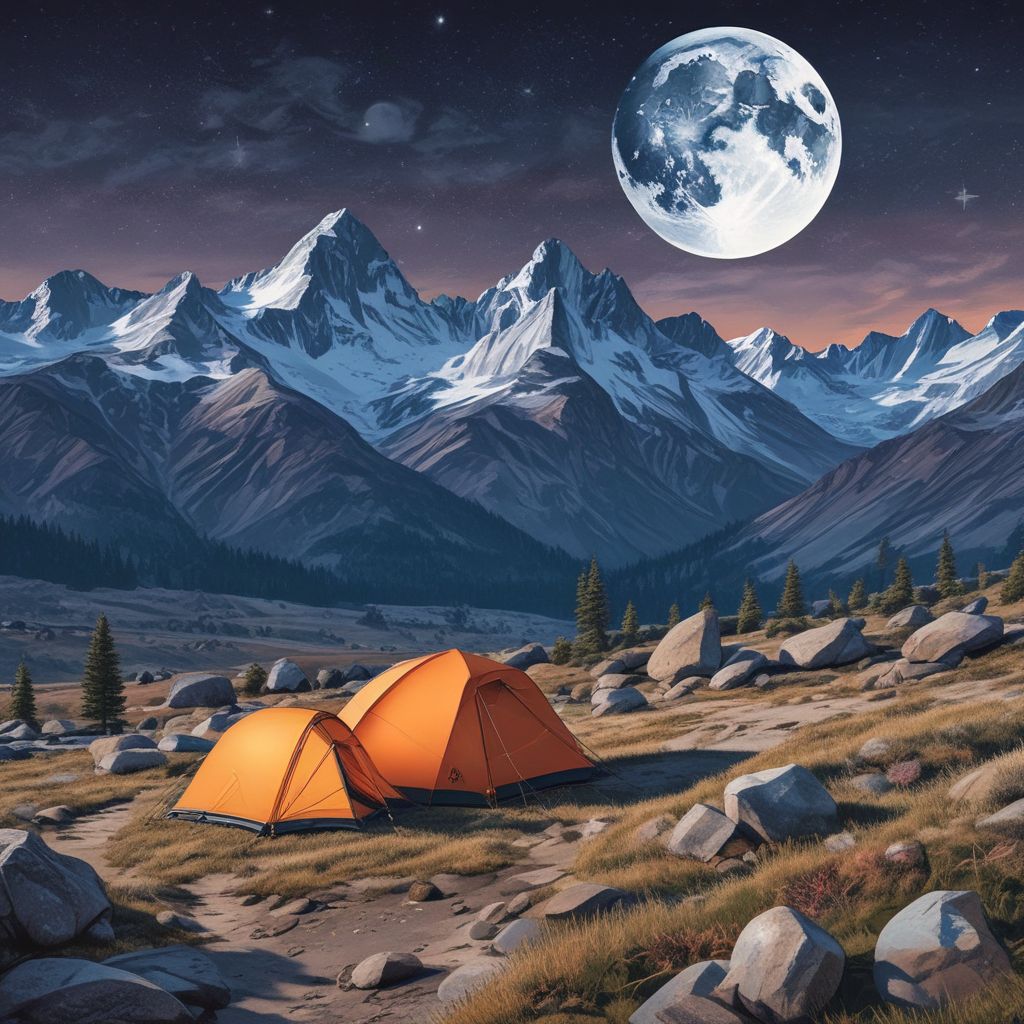
Moonlit Peaks: How to Plan Safe, Low‑Impact Night Hikes on Alpine Plateaus is a step‑by‑step guide for hikers who want to navigate by the stars, bivvy in cold alpine conditions, and photograph the Milky Way while minimizing impact on fragile ecosystems and nocturnal wildlife. Night hikes on high, open plateaus reward with wide horizons and unforgettable skies, but they require planning, respect, and the right gear to be both safe and gentle on the environment.
Why choose alpine plateaus for night hiking?
Alpine plateaus offer clear sightlines, reduced tree cover, and minimal light pollution—ideal for stargazing and astrophotography. However, their exposed terrain and rapid weather changes make them more hazardous than valley trails, and fragile vegetation recovers slowly from trampling. Balancing the magic of moonlit summits with Leave No Trace principles keeps these places wild for future visitors and the animals that call them home.
Pre‑trip planning: safety, timing, and permits
- Check weather and avalanche conditions: Alpine storms can arrive quickly; verify forecasts and avalanche bulletins when relevant.
- Moon phase and astronomical timing: Aim for nights near new moon or when the moon sets early for best Milky Way visibility; consult a moon‑phase app and the astronomical twilight table.
- Permits and access: Some plateaus have seasonal closures to protect wildlife—secure permits and respect closures.
- Route and emergency plan: Pick a route with clear escape options and leave your itinerary with a trusted contact.
Essential gear checklist for cold‑weather bivvy
- Warm, moisture‑wicking base layers and insulated midlayers (avoid cotton)
- Windproof, waterproof outer shell and insulated pants
- Sleeping bag rated at least 10–20°F (6–11°C) below expected temps and a high‑R‑value sleeping pad
- Compact bivy sack or four‑season ultralight tent (for wind protection)
- Stove, high‑calorie food, and an insulated bottle to prevent freezing
- Headlamp with red mode + spare batteries, GPS device, map, and compass
- Emergency bivy/blanket, whistle, and first‑aid kit
Bivvy tips to stay warm without adding bulk
- Inflate your sleeping pad inside the bivy to keep loft from compressing against the ground.
- Use a vapor‑permeable bivy over a sleeping bag to reduce condensation and trap heat.
- Wear a dry insulating layer to bed and seal gaps at neck and wrists.
- Avoid eating immediately before sleeping—digesting cold food can lower core temperature; drink warm fluids instead.
Star navigation basics for alpine plateaus
Before relying on celestial cues, learn how to use a map and compass—stars are a complement, not a replacement. That said, star navigation gives you a reliable backup when electronics fail.
Quick celestial orientation
- Northern Hemisphere: Locate Polaris by finding the Big Dipper’s pointer stars; Polaris marks true north.
- Southern Hemisphere: Use the Southern Cross and the two pointer stars to approximate south.
- Milky Way as an axis: The bright Milky Way band roughly aligns with galactic north–south—use it for coarse bearing on clear nights.
- Practice first: Try short evening navigations near home to familiarize yourself before committing to remote alpine terrain.
Capturing the Milky Way without disturbing wildlife
Photography techniques can produce stunning Milky Way images while keeping noise and light to a minimum—respect nocturnal animals by minimizing stimulus.
Plan and compose
- Shoot during astronomical twilight or darker; check the Milky Way’s position and rise/set times to plan composition.
- Use a wide, fast lens (e.g., 14–24mm, f/2.8 or faster) and aim for shorter exposures (15–25s) to avoid star trailing without continuous bright lights.
Light discipline
- Use red headlamp mode for setup and framing; red is less disturbing to wildlife and preserves night vision.
- Avoid bright beams or prolonged white light; if light painting is necessary, keep bursts brief and low intensity.
- Use remote triggers and intervalometers to minimize time spent at the camera; move quietly and with purpose.
Camera settings that reduce disturbance
- Lower ISO and slightly longer exposures where possible to reduce the need for bright scene illumination.
- Bracket exposures and stack images in post‑processing to increase signal without adding light on site.
Low‑impact practices for night hikers
Protect alpine flora and fauna by following these simple rules every time:
- Stick to durable surfaces—rock, dead snow, or established routes—to avoid crushing alpine plants.
- Keep noise low and avoid calling or playing music near wildlife habitats.
- Pack out everything; even biodegradable scraps can alter animal behavior.
- Use a headlamp only when necessary and point lights at the ground; cover LEDs with red film if possible.
- Avoid shining lights toward ridgelines where nocturnal raptors and mammals may be active.
Example one‑night itinerary
- 17:00 — Hike to a pre‑scouted plateau campsite; set up bivy in sheltered spot downwind of the ridge.
- 19:30 — Early dinner and gear check; change into sleeping layers before dark.
- 21:00 — Short navigation practice and Milky Way scouting; place camera on tripod and set remote.
- 22:00–02:00 — Photograph in short bursts; rest between sessions to minimize light use and noise.
- 04:00 — Break camp and descend during early light if weather and terrain are favorable.
Final safety reminders
Carry redundancy: spare batteries, a paper map and compass, and a small bivy even if not planning to sleep. If wildlife appears close, give it space and leave the area slowly; never feed or approach animals. When in doubt, choose safety over a photo—no image is worth injury or disrupting an ecosystem.
Night hikes on alpine plateaus can be profoundly rewarding: the right planning lets you navigate by stars, bivvy comfortably in cold weather, and capture the Milky Way without harming wildlife.
Ready to plan your Moonlit Peaks adventure? Pack thoughtfully, tread lightly, and enjoy the stars—then share one low‑impact photo to inspire others.