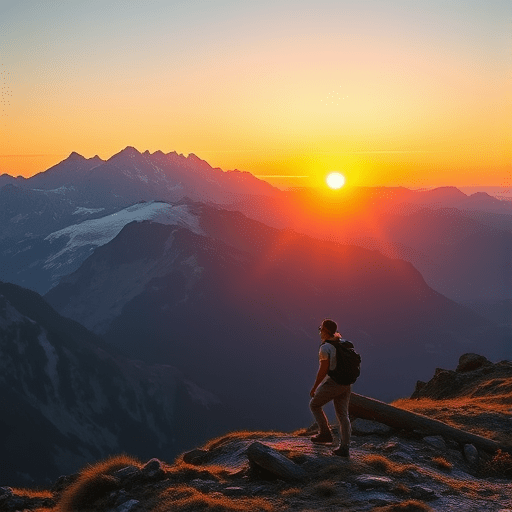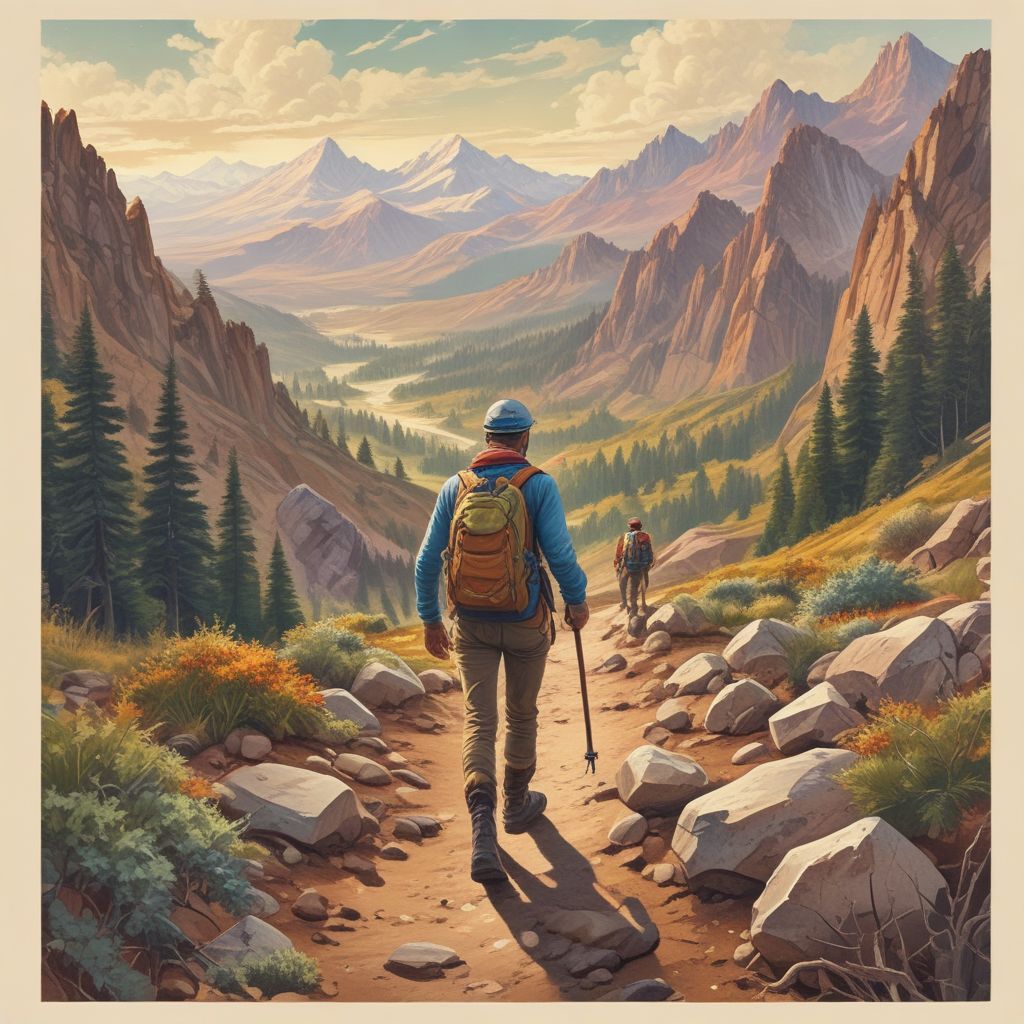
Trailproofing Classic Hikes starts with understanding that familiar routes are changing—glaciers recede, rivers rise, wildfires alter landscapes, and high-season snow lingers. This practical guide shows how to prepare, reroute smartly, choose the right season, and pack gear that reduces risk so you can still enjoy iconic trails with confidence.
Why trailproofing matters now
Climate change is producing unpredictable conditions on long-established routes: trail washouts, new stream crossings, unstable talus from thawing permafrost, and increased wildfire closures. What used to be a “no-brainer” summer itinerary may now include hazardous early-season snow or sudden storm-driven floods. Trailproofing reduces surprises and keeps both you and fragile ecosystems safe.
Pre-trip research: the foundation of rerouting
Thorough research saves lives and time. Before committing to a route, use multiple recent sources and validate them against each other.
- Official ranger reports: Check national park and forest service pages for closures, hazards, and recommended alternatives.
- Recent trip reports: Read hiker forums, recent blog posts, and social media (search by trail name + current year) for firsthand conditions.
- Satellite imagery and topo maps: Use apps or websites (e.g., Gaia, AllTrails, satellite views) to spot river changes, trail reroutes, and vegetation loss.
- Local contacts: Call trailhead rangers, local guide services, or trail clubs—they often know subtle hazards not yet posted online.
Plan multiple routes
Always identify at least two safe alternatives and a bailout plan. Mark elevation profiles and potential water sources; note which segments could become impassable after storms and where cell coverage or escape roads exist.
Rerouting strategies on the trail
When the official trail is blocked or dangerous, use smart rerouting rather than improvisation.
- Follow established detours: Park managers and volunteer crews often create official bypasses—use them where available.
- Use contour navigation: If a creek crossing is washed out, contour around steep banks rather than attempting a risky scramble.
- Respect closures: Closed sections protect both hikers and recovery habitats; do not shortcut closures unless the emergency justifies it.
- Conservative detours: Choose a slightly longer but lower-risk route over a direct but hazardous line.
Timing and seasonality: when to go
Timing can be as important as the gear you carry. Classic-season windows have shifted—plan for a moving target.
- Shifted seasons: High-elevation snow may persist later into summer; early monsoon or storm seasons may arrive sooner than historical averages.
- Start early: Begin hikes at dawn to avoid afternoon storms, heat, and wildfire smoke concentrated later in the day.
- Flexible itineraries: Use soft dates for permits and transport where possible, and consider shoulder seasons if conditions are more stable.
- Weather watching: Monitor forecasts up to the last minute and be prepared to postpone if river flows or fire danger rise.
Gear checklist for trailproofing
Carry items that let you adapt to new hazards—both protective and navigational. Pack for contingencies you didn’t face on the trail ten years ago.
- Navigation: Waterproof topo map, compass, and a GPS device or phone with offline maps and portable charger.
- Water management: Extra-capacity bladder or collapsible water bottles and robust filtration—drier summers mean fewer dependable streams.
- Traction and creek-crossing tools: Lightweight microspikes, trekking poles (for stability in swift water), and neoprene socks or water shoes for planned fords.
- Shelter and warmth: Lightweight emergency shelter, insulated layer, and a bivy—storms and unexpected delays are more common.
- Air quality protection: N95 or P100 masks for wildfire smoke events, and a small portable air filter for basecamp if needed.
- Repair kit and cordage: Trail erosion can force temporary rope fixes—carry cord, duct tape, and a multi-tool.
- Communication: Satellite messenger or PLB for routes with unreliable cell coverage.
Packing tip
Organize gear by scenario—river-crossing kit in an easy-to-reach pocket, emergency shelter at the top of your pack, and a “go-bail” food/water pack for fast retreats.
On-trail decision-making and safety
Decisive, conservative choices keep trips within the margin of safety.
- Use the turn-around rule: If a crossing, snowfield, or burn area looks unstable, turn around—postponing is better than forcing dangerous terrain.
- Group leadership: Designate a decision-maker and run pre-trip scenarios so everyone knows the bailout process.
- Assess river crossings: Avoid crossings after heavy rain; if forced, unbuckle pack straps, clip into a rope if available, and cross angled downstream.
- Monitor conditions continuously: Visibility, trail surface, and water sound all provide cues—trust observations over schedules.
Stewardship: leave it better
Trailproofing includes protecting the trails themselves. Volunteer, report hazards, and practice low-impact travel to reduce erosion and assist managers.
- Report new washouts, fallen trees, or unofficial reroutes to land managers.
- Pack out repair materials where allowed or donate time to trail crews.
- Avoid creating new trails around hard-to-cross areas—help preserve natural recovery corridors.
Quick emergency checklist
- Stop and assess—don’t rush into improvisation.
- Contact rangers or emergency services if someone is injured.
- Use satellite messenger to signal distress if off-grid.
- Execute bailout plan or overnight safely with shelter and water if evacuation isn’t possible.
Trailproofing Classic Hikes is less about fear and more about thoughtful respect for changing landscapes—plan ahead, pack prudently, and be ready to reroute with humility. Those who adapt will continue to enjoy the world’s best hikes while protecting them for the future.
Ready to trailproof your next classic hike? Update your route plan today and share one condition report with local rangers when you return.