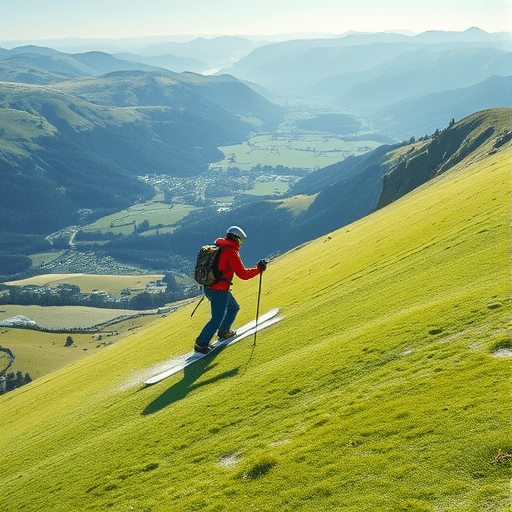
For the modern solo skier or snowboarder, a self‑inflating avalanche beacon is no longer a luxury—it’s a lifeline. This compact, battery‑powered device automatically deploys its antenna in the event of a fall, broadcasting a signal that can be traced by rescuers or, in a solo context, by the traveler themselves if they have a handheld receiver. In 2026, with avalanche technology evolving rapidly, having the right beacon, the right pack list, and a clear deployment plan can be the difference between a swift rescue and a prolonged search. This guide walks you through choosing the best beacon, building an efficient solo pack list, packing smartly, and deploying effectively—step by step.
Why a Self‑Inflating Avalanche Beacon Matters for Solo Explorers
Solo backcountry travel removes the safety net of a partner’s radio call. A beacon that automatically inflates eliminates the crucial seconds lost in manual deployment. Modern self‑inflating models offer:
- Rapid Activation – Automatic inflation within 2–3 seconds after impact.
- Extended Range – Up to 800 m in typical snow conditions.
- Durability – IP68-rated housing resists water and impacts.
- Lightweight Design – Often under 200 g, making it easy to carry.
These features translate directly into improved survival odds, especially when the avalanche zone is far from any visible rescue teams.
Step 1 – Choosing the Right Beacon: Features to Prioritize
Battery Life & Rechargeability
Most self‑inflating beacons now use lithium‑ion cells with a typical runtime of 5–10 hours in standby mode and 30–45 minutes in active mode. Opt for models that allow quick swapping of spare batteries or incorporate a USB‑C recharge port. A quick 20‑minute charge can bring a depleted unit back to 70% capacity—critical during backcountry days that extend into the late afternoon.
Signal Range & Frequency
Signal range depends on frequency band (457 MHz vs. 457.7 MHz). Check that the beacon’s range is suitable for the terrain you’ll traverse. For high‑elevation, deep‑snow routes, a 457.7 MHz model with a range of up to 800 m is advisable.
User Interface & Readability
Look for a clear, backlit display that shows battery level, signal strength, and beacon status even in low light. A tactile button layout aids operation after a fall, where fingers might be numb or frozen.
Build Quality & Weight
The housing should be rugged yet lightweight. Models with a carbon‑fiber or aluminum alloy shell typically weigh between 150–200 g. The lighter the beacon, the less you’ll sacrifice in your pack’s capacity.
Additional Features
Modern beacons sometimes include:
- LED flashlight or illumination mode.
- Water‑proof pouches for spare batteries.
- Bluetooth connectivity for logging beacon status.
- Integration with mobile apps for status alerts.
While optional, these extras can enhance safety and convenience.
Step 2 – Building the Ultimate Solo Pack List
Below is a curated list that balances essential safety gear with the need to keep your pack light. Adjust quantities based on your trip length, weather forecasts, and personal needs.
Beacon & Electronics
- Self‑inflating avalanche beacon (2 units recommended)
- Spare lithium‑ion batteries (2–3 extra cells)
- USB‑C charger or portable power bank (20 000 mAh)
- Portable battery case or magnetic pouch
- Handheld receiver (optional if you plan to self‑search)
Clothing & Layers
- Base layer (synthetic or merino) – 1–2 sets
- Mid layer (fleece or down) – 1–2 sets
- Outer shell (waterproof, breathable) – 1
- Insulated jacket (optional for high‑altitude days)
- Thermal gloves, hat, and neck gaiter
- Goggles or sunglasses with UV protection
Footwear & Accessories
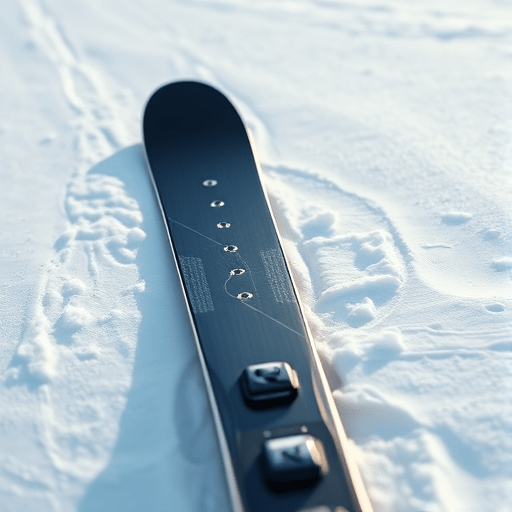
- Backcountry skis or snowboard with appropriate bindings
- Powder boots or touring boots with a reliable grip system
- Groomed snowshoes or crampons if expecting icy sections
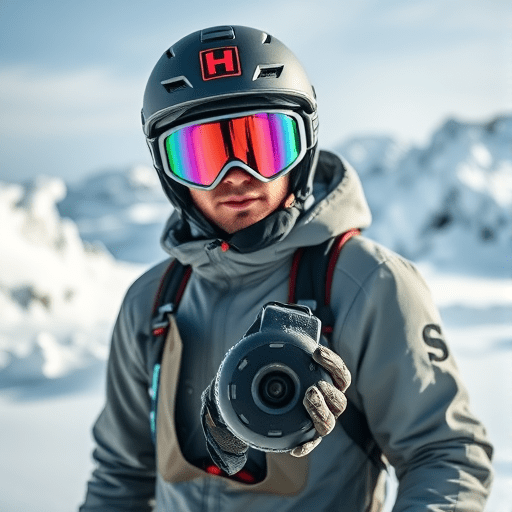
- Helmet (mandatory for backcountry in avalanche terrain)
- Stiff gloves for better hand protection
Food & Hydration
- High‑calorie, non‑perishable snacks (nuts, chocolate, energy bars)
- Hydration system (500–700 ml capacity) with a lightweight bladder
- Thermos for hot drinks (optional for cold nights)
- Portable stove & fuel (if you plan to cook)
Safety & Navigation
- Map and compass (with pre‑checked terrain)
- GPS device or smartphone with offline maps
- Alpine club pass (if required)
- First‑aid kit (including blister treatment and trauma supplies)
- Emergency whistle and signal mirrors
- Portable, weather‑proof bag for spare items
Optional Enhancements
- Mini‑snow shovel (compact, 20 cm)
- Mini‑sledge or lightweight sled for carrying the beacon in a pack
- Quick‑release straps to secure the beacon to your harness
Step 3 – Proper Packing and Load Distribution
Optimal packing not only keeps your weight down but also ensures that in the event of a fall, the beacon remains within reach and is deployable immediately.
- Beacon Placement: Attach the beacon to your harness’s front strap using a quick‑release clip. This keeps it within arm’s reach and protects it from damage.
- Battery Access: Store spare batteries in a separate, water‑proof pouch placed on the top of the pack. Label it clearly.
- Center of Gravity: Position heavier items (water bladder, stove) close to your spine and lower down to maintain balance, especially on steep ascents.
- Layering: Pack layers outward so you can remove them without unpacking the whole bag. This is vital for quick temperature adjustments.
- Backpack Modifications: If your pack lacks a dedicated beacon pocket, cut a small slit in a durable fabric patch and sew it onto the side panel. This custom pocket secures the beacon and keeps it visible.
Step 4 – Deploying Your Beacon in an Emergency
Knowing the exact steps to deploy the beacon can shave precious seconds in a critical situation.
Preparation Before Descent
Before heading out, perform a quick “live check”: hold the beacon in your hand and press the power button to ensure it turns on. Verify that the LED indicator is solid green and that the signal strength meter shows full range.
Activation During a Fall
In a typical avalanche scenario, the beacon’s built‑in accelerometer triggers within 2–3 seconds after impact. The beacon inflates its antenna automatically. In rare cases where the beacon fails to auto‑inflate (e.g., severe impact damage), manually press the “inflate” button while you’re still conscious to trigger a manual deployment.
Post‑Activation Check
Once you’re on the ground, locate the beacon on your person. The LED should glow red, indicating active transmission. If you have a handheld receiver, hold it close and confirm you’re picking up the signal. If not, use a smartphone app that displays beacon status via Bluetooth.
Recovery Process
If you are the sole survivor, follow these steps:
- Stand upright if possible, keeping the beacon close to your chest.
- Activate the beacon’s “self‑check” mode (usually a double‑press of the power button). This ensures the signal is still transmitting.
- Use a handheld receiver or smartphone to trace the beacon’s signal. If you have a GPS, overlay the beacon’s coordinates on your map.
- Once a rescue team arrives, hand them the beacon and your location. If you’re on a ridge, you can also use the beacon to alert the team that you’re still in the same spot.
Step 5 – Maintenance and Testing Routine
A beacon is only as good as its last test. Establish a routine that keeps it ready for the next adventure.
- Monthly Function Test: Power on the beacon, check the LED, and press the “signal test” button. Confirm the signal strength reads 100%.
- Battery Check: Inspect battery terminals for corrosion and replace any battery that shows signs of leakage.
- Inflation Test: Simulate a fall by dropping the beacon onto a soft surface (e.g., a snow mattress) and verify the antenna inflates fully.
- Storage: When not in use, store the beacon in a dry, temperature‑controlled environment (ideally 15–20 °C). Avoid extreme cold where lithium cells can lose capacity.
- Software Updates: If your beacon supports firmware updates via a USB‑C port, update it at least once per season to benefit from bug fixes and improved battery management.
Additional Safety Practices for Solo Skiers
While a self‑inflating beacon is a cornerstone of solo safety, it should be part of a broader safety plan.
- Avalanche Forecasting: Check the Avalanche Information Service (AIS) for the latest snowpack stability reports. Plan your route for areas with low avalanche risk.
- Route Planning: Use topographic maps to identify natural avalanche control features such as ridgelines and natural barriers.
- Weather Monitoring: Pay attention to sudden temperature drops, high winds, or snowpack changes that can trigger avalanches.
- Emergency Kit: Include a compact, high‑strength rope, a personal locator beacon (PLB) if you’re venturing into extremely remote areas, and a mini‑sledge for carrying gear.
- Training: Attend an avalanche safety course that covers beacon use, rescue techniques, and personal risk management.
By integrating these practices with a reliable self‑inflating beacon, solo skiers and snowboarders can traverse the backcountry with confidence, knowing that each gear choice is a deliberate step toward safety.
In conclusion, the self‑inflating avalanche beacon is more than a piece of equipment; it’s a lifeline that, when paired with thoughtful packing, smart deployment strategies, and rigorous maintenance, can significantly improve your chances of a safe solo backcountry experience. Equip yourself right, pack smart, and respect the terrain—then enjoy the freedom that solo backcountry travel offers.